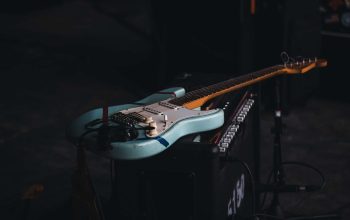
A wireless microphone can be a great addition to any home audio system, allowing you to move freely around the room without being tethered to a speaker or audio receiver. In this article, we’ll show you how to connect a wireless microphone to your home audio system.
How to Connect a Wireless Microphone
What you will need
In order to connect a wireless microphone, you will need:
- A receiver
- An XLR cable
- A power source
- A sound system
- A microphone
Instruction
- Connect the receiver to the sound system. Most receivers will have an XLR output that you can plug an XLR cable into. If your receiver does not have an XLR output, consult the manual for alternative ways to connect it to your sound system.
- Connect the power source to the receiver. The power source can be either an AC adapter that plugs into an outlet or batteries. Once the power source is connected, turn on the receiver.
- Turn on the microphone. Once the microphone is turned on, it will automatically sync with the receiver. If it does not sync automatically, consult the manual for troubleshooting tips.
- Test the connection by speaking into the microphone. You should see the level meters on the receiver move when you speak. If you don’t see any movement, make sure that the gain (volume) on both the receiver and sound system are turned up.
That’s all there is to it! Now you can start using your wireless microphone without being tied down by cords. Enjoy your new found freedom of movement and make sure to keep your receivers and microphones charged so you never have to worry about being mid-sentence and losing your audio connection.
How to Connect a Wireless Microphone to a Bluetooth Speaker
Nowadays, many people use wireless microphones and Bluetooth speakers. This is because they are convenient and easy to use. If you have both a wireless microphone and a bluetooth speaker, you may be wondering how to connect the two. Keep reading to find out!
- The first thing you need to do is put your Bluetooth speaker into discovery mode. This means that the speaker will broadcast itself so that other devices can find it. To do this, consult your Bluetooth speaker’s manual. Once your Bluetooth speaker is in discovery mode, it will be searching for a connection with a nearby device.
- Next, you need to put your wireless microphone into pairing mode. This is so that the microphone can connect with the Bluetooth speaker. To do this, consult your wireless microphone’s manual.
- Once your wireless microphone is in pairing mode, it will be searching for a connection with a nearby device.
- At this point, your Bluetooth speaker and wireless microphone should be able to find each other and pair automatically.
- If they don’t pair automatically, you may need to select the devices from a list on each respective device.
- Once they are paired, you should be good to go! Start using your new setup by speaking into the microphone while standing near the Bluetooth speaker.
How to Connect a Wireless Microphone to Your Computer
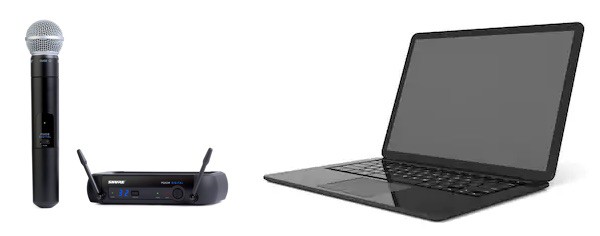
The first thing you need to do is make sure that your wireless microphone is compatible with your computer. Most newer models will be, but it’s always best to check before you buy.
There are two main ways to connect a wireless microphone to your computer: via Bluetooth or through a USB receiver. If your microphone has Bluetooth capabilities, that will usually be the easiest way to connect it.
However, if your computer doesn’t have Bluetooth or if you’re experiencing connection issues, using a USB receiver is another option.
Connect to Computer Using Bluetooth
If you’re using Bluetooth, simply turn on your microphone and put it into pairing mode. Then open up the Bluetooth settings on your computer and select the microphone from the list of available devices.
If you’re prompted to enter a passcode, enter 0000—this is the default passcode for most Bluetooth devices.
Connect to Computer Using a USB receiver
Using a USB receiver is more stable than Bluetooth, but it does require an extra piece of hardware. Here is how to do it:
- Start by plugging the receiver into an available USB port on your computer.
- Next, turn on the microphone by pressing the power button. You should see a small LED light come on, indicating that the microphone is working.
- Once the microphone is on, press the Pairing button on the receiver. This will put the receiver into pairing mode and allow it to connect with the microphone.
- Now put the receiver into pairing mode by pressing and holding the Pairing button for three seconds. The LED light will start flashing, indicating that it’s in pairing mode. 5 Wait for the LED light on the receiver to turn solid, which means it has successfully paired with the microphone.
- And that’s it! Your wireless microphone is now connected to your computer and ready to use.
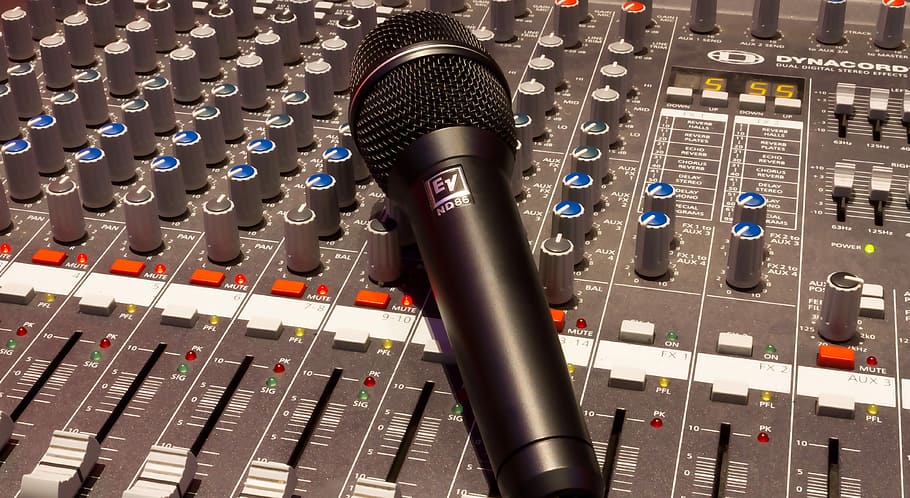
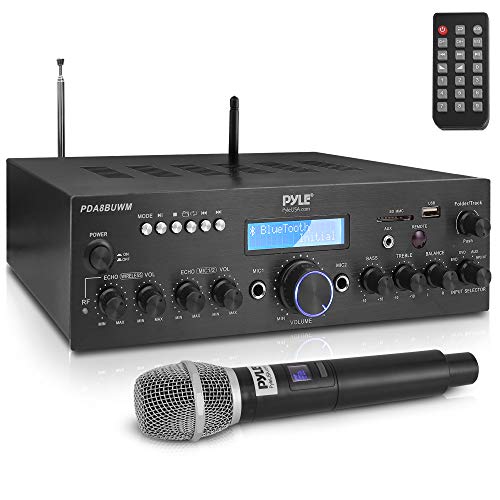
How to Connect a Wireless Microphone to a Mixer
There are two main types of mixers: digital and analog. The type of mixer you have will determine how you need to connect your wireless microphone.
If you have an analog mixer, you will need an XLR-to-1/4″ cable. This type of cable is typically used to connect microphones to mixers. To connect the XLR end of the cable to your wireless microphone, locate the mic’s receiver and look for an XLR output. Once you have connected the cable, plug the 1/4″ end into an available input on your mixer.
If you have a digital mixer, you will need an XLR-to-USB cable. The USB end of this type of cable will plug into an available USB port on your mixer. As with the analog mixer, locate the mic’s receiver and look for an XLR output. Once you have connected the cable, turn on your digital mixer and select the appropriate input for your wireless microphone.
How to Connect a Wireless Microphone to an Amplifier
- Turn off the power to the amplifier.
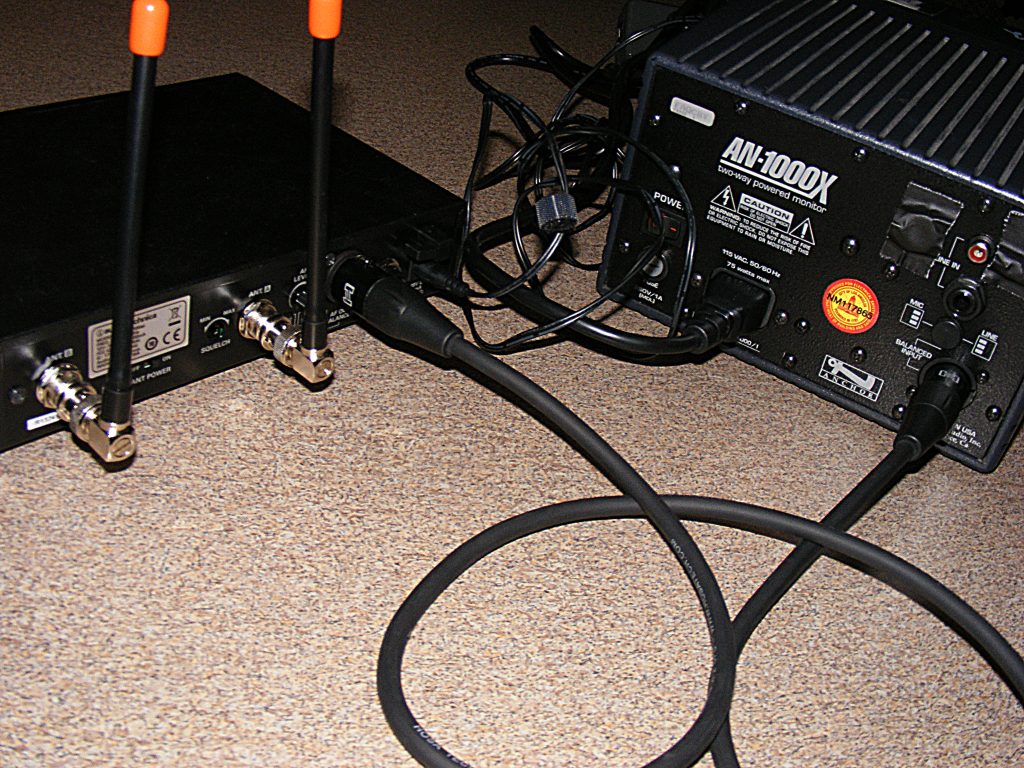
- Connect the included antenna to the wireless receiver. The type of antenna will depend on the model of receiver; consult the owner’s manual for more information.
- Plug the wireless receiver into an available input on the amplifier.
- Turn on the power to the amplifier.
- Press the “Scan” or “Auto-Scan” button on the wireless receiver, then wait until it has finished scanning for compatible frequencies. Consult the owner’s manual for your model of receiver for more information on how to do this.
- Select a frequency from the list of available frequencies displayed on the receiver’s screen, then press the “Select” or “Lock” button on the receiver (again, consult your owner’s manual for specific instructions).
- Turn on your wireless microphone by pressing the “Power” button (consult your owner’s manual for specific instructions).
- Test your setup by speaking into the microphone; you should see movement in the amplitude (volume) meter on your receiver’s display, and you should hear your voice coming through the speakers connected to your amplifier. Adjust the volume on your amplifier as necessary until it is at a comfortable level.
- You may need to adjust the position of your antennae in order to get optimal reception; consult your owner’s manual for more information.
Read More: How Many Wireless Microphones Can Be Use at Once?
Troubleshooting Tips
If you’re having trouble connecting your wireless microphone to your computer or mixer, here are a few troubleshooting tips:
- Make sure that the batteries in your wireless microphone are fresh and have plenty of power.
- If you’re using Bluetooth, try moving the microphone closer to your computer or speaker. Bluetooth has a limited range, so you may need to be close to the device you’re trying to connect to.
- If you’re using a USB receiver, make sure that it’s plugged into a powered USB port. Some USB ports, especially on laptops, don’t provide enough power for devices like wireless microphones.
- If you’re still having trouble, try restarting your computer or mixer. This will reset the connection and may help resolve any issues.
Conclusion
By following these simple steps, you’ll be able to successfully connect a wireless microphone to any device in no time! This guide walks you through what you need in order to get started as well as how to troubleshoot any common issues you may run into along the way.
Once you’ve got your wireless mic set up, enjoy the extra freedom of movement it affords you without having to worry about getting tangled in cords!